Introduction
Welcome to the Avalara Item Classification FTP Usage Guide. Item Classification automates assigning HS Codes to physical goods shipped internationally. This guide is intended to demonstrate how to set up Secure File Transfer Protocol (FTP) to use Item Classification. For more information, [download our Item Classification FTP specs](/public/data/AXB - Item Classification - Data File Transfer - V2.docx).
File Formats
During the sign-up process, you will designate which file format you would like to use for submitting your data for classification. The available file types for Item Classification are:
- CSV - Comma Separated Values. Example file: HSCR.V2.Avalara.Classification.Sampling.Input.Data.csv. Note that parameters are represented by additional columns.
- JSON - Javascript Object Notation. Example file: HSCR.V2.Avalara.Classification.Sampling.Input.Data.JSON
- TXT - Convert a Google product catalog file from CSV > TSV > TXT. Example file: HSCR.V2.Avalara.Classification.Sampling.Input.Data.txt. Refer to the Guidelines for importing Google product catalogs help topic for more information.
Choose the file type that best works with your internal systems and workflow. We are currently unable to change this file type after your account is created.
File Setup
All files for upload must have "HSCR.V2." at the beginning of the file name. For example, a CSV file for Item Classification might be named HSCR.V2.2020_03_01.CSV. When the file is classified, the results file will be named HSCR.CLASSIFICATION.V2.2020_03_01.CSV.
Item Parameters
Many physical goods have qualitative and quantitative details. These details are represented as an array of parameters. You should include as many relevant parameters as you have. Certain physical goods require parameters, for example olive oil requires a volume measurement parameter.
SSH Key Setup
Public-private key pairs are a means securely encrypting information. With Avalara Item Classification FTP, you will need to create a public-private SSH key pair. Send us the public half of the key. Save the private portion of the key and keep it safe. Do not use PuTTYgen on Windows to generate the public-private key pair. The format is incompatible with our file transfer architecture.
Here are instructions for using OpenSSH on Windows 10 to generate a public-private key pair.
- Open Windows Powershell
- Type:
ssh-keygen -t rsa -b 4096 - Enter the filepath and name where you wish to save the key pair, with empty passphrase if prompted. Example:
ExampleKeys.ssh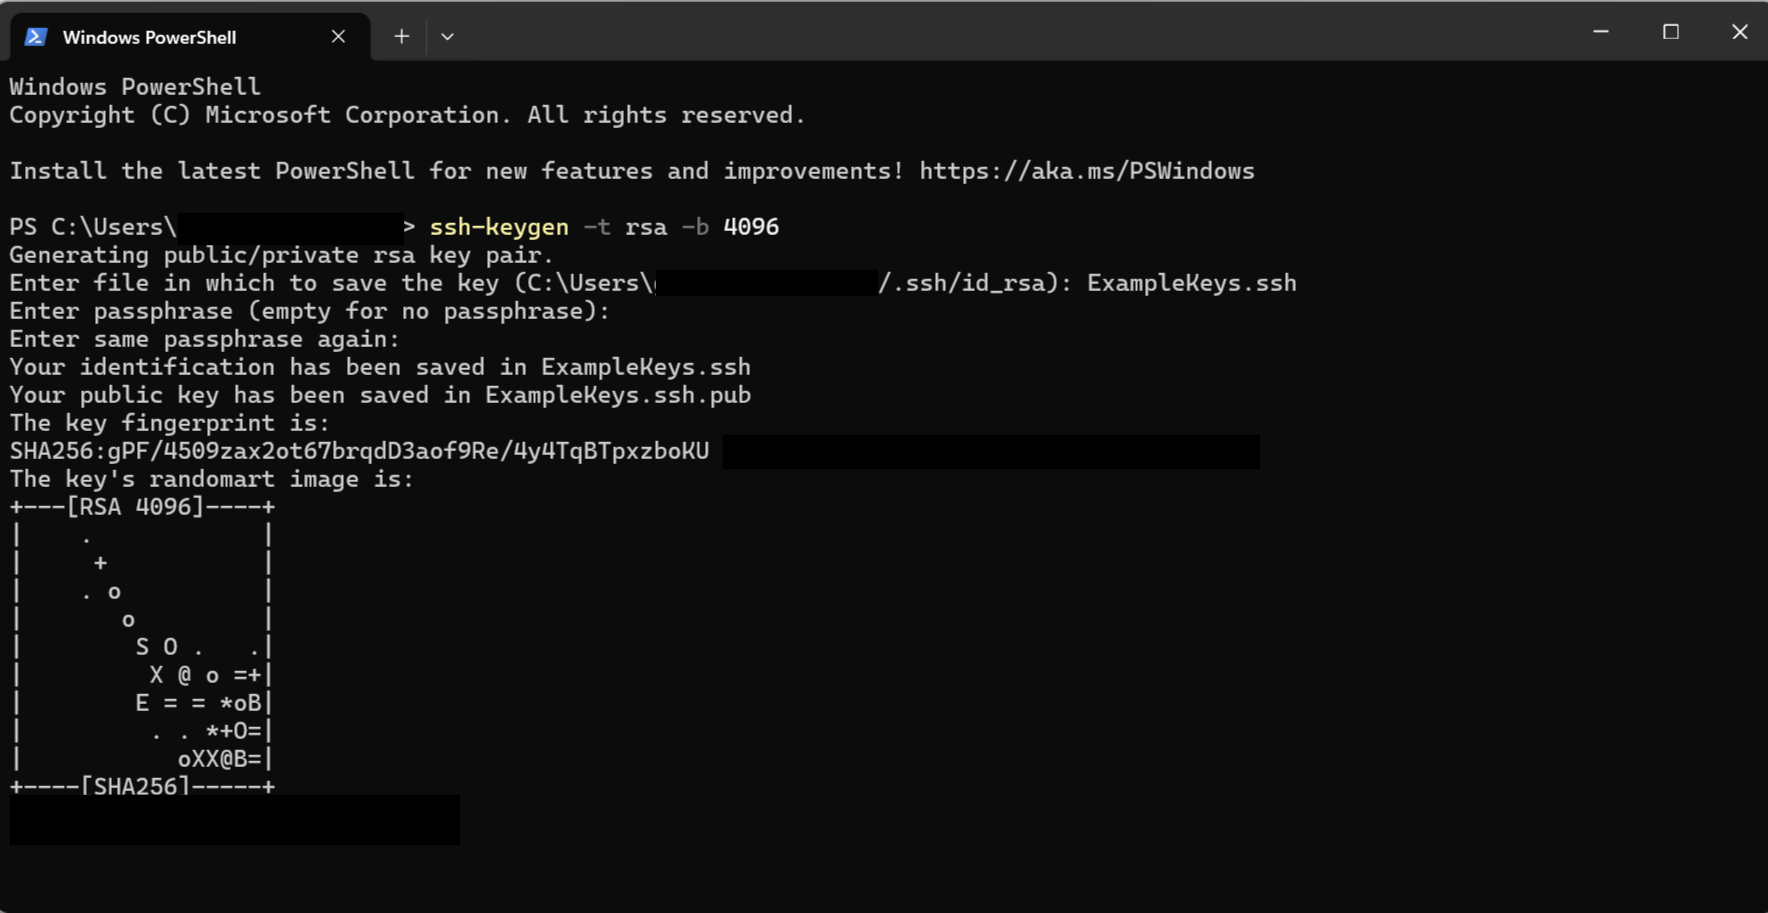
- In the path where you created the keys, there will be two new files. Continuing with the example in #3:
ExampleKeys.sshandExampleKeys.ssh.pub. The.pubfile is the public key. - Submit the public key to Avalara via email to your Go-Live representative or Account Manager. The public key is designed to be shared as a means for others to encrypt information sent to you.
- Save the private key. This private key,
ExampleKeys.ssh, is your Item Classification FTP password. We will show you how to use this file as your password in your FTP client.
You may read more about public-key cryptography here: https://en.wikipedia.org/wiki/Public-key_cryptography.
File Upload
You will need a secure FTP client to upload your files to Avalara Item Classification. There are many secure FTP applications you can use. For illustrative purposes, the following examples show FileZilla, a free, open-source FTP client application.
- Set up connection to Avalara Item Classification FTP. In FileZilla, click on
File > Site Manager...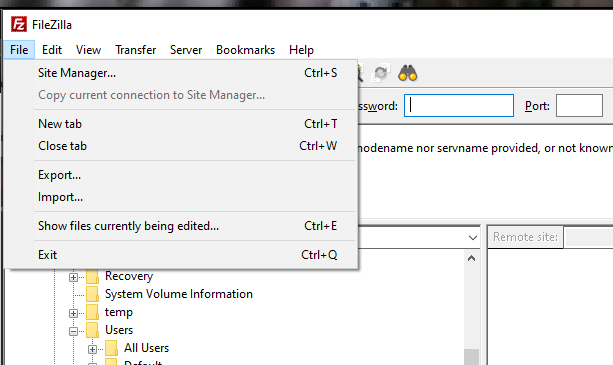
- Set Protocol to
SFTP - SSH File Transfer Protocol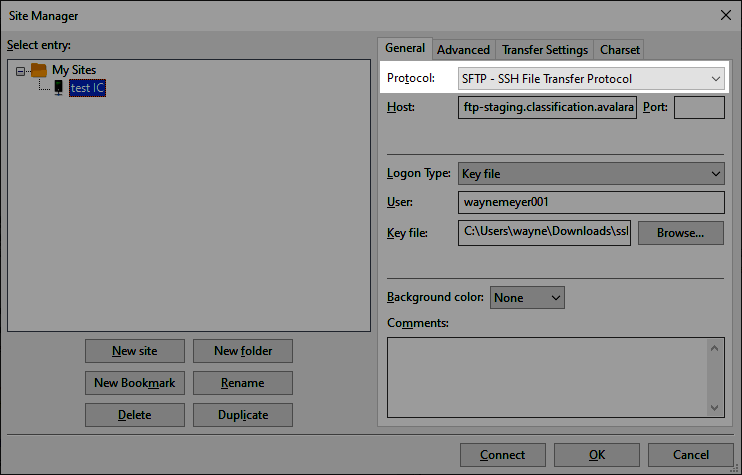
- Set Host to
ftp.classification.avalara.net, leave Port blank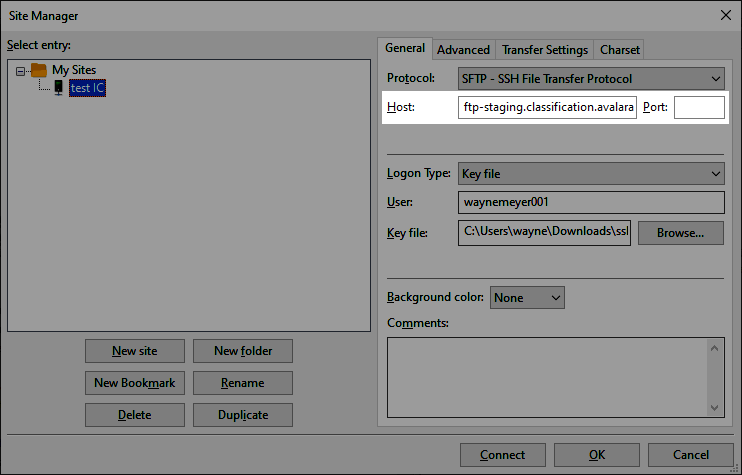
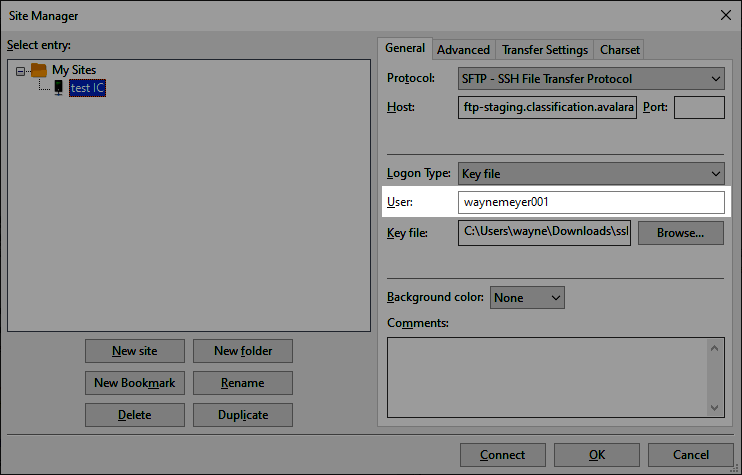
- Set Logon Type to
Key file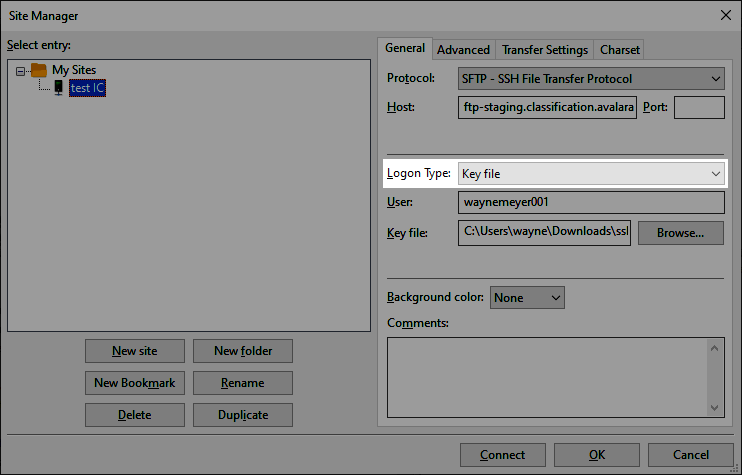
- Set User to the username provided to you in the "Welcome to Item Classification" email.
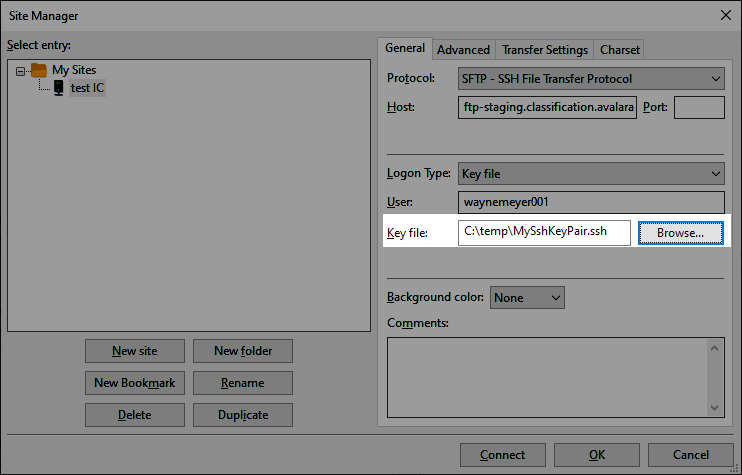
- Select the private key file you previously created.
- Connect to Avalara Item Classification when ready. Upon successfully connecting, you will see two folders available to you, inbound and outbound.
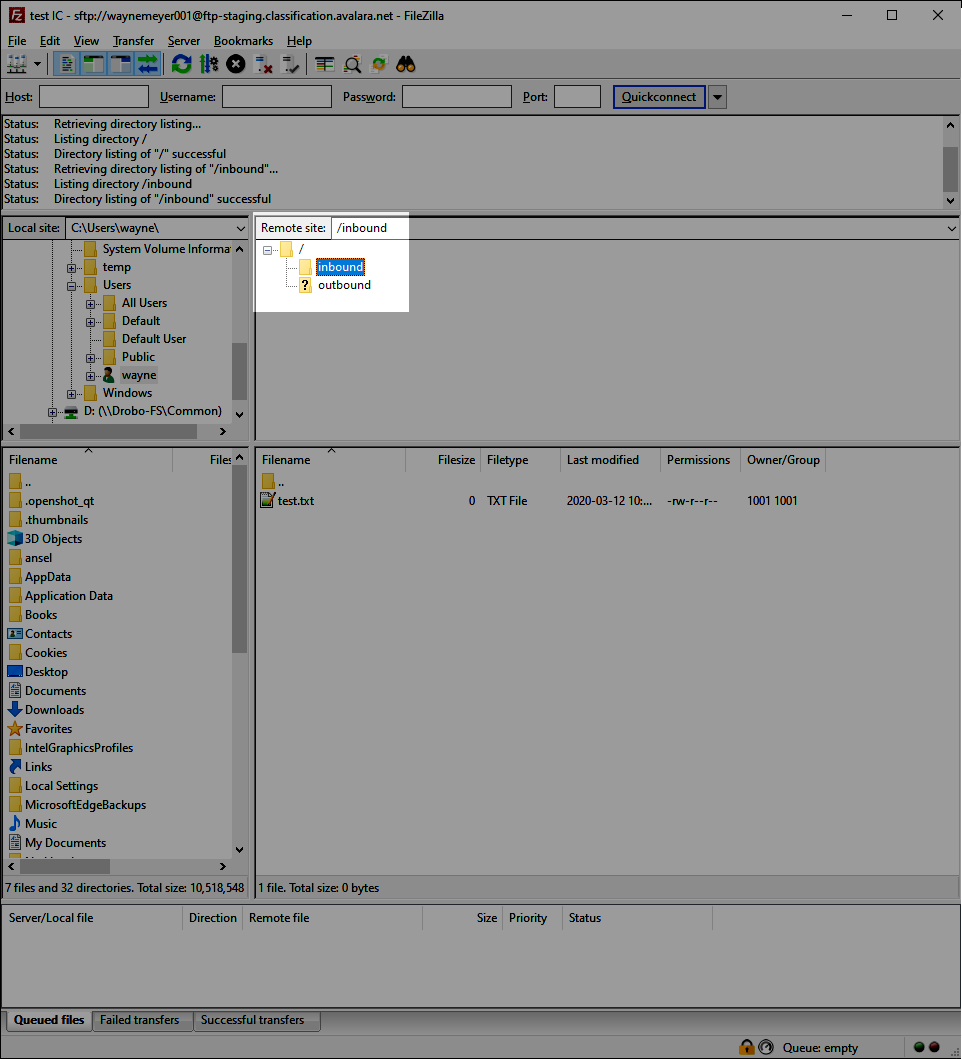
- Place your formatted files in the inbound folder. Classification results will be in the outbound folder when completed.